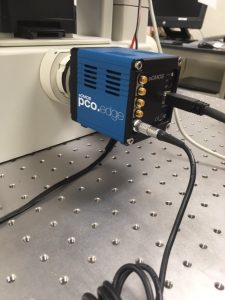
The Arduino and pco camera were unplugged from the power strip and the usb ports of the laptop. The picture below shows the camera attached to the microscope. The black and sliver cables were both removed.
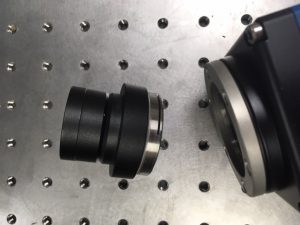
Next, the camera was removed from the C mount of the microscope. The C mount adapter was removed from the camera so that a protective cover could be placed over the lens.
The LED matrix is affixed to an acrylic baseplate that is suspended above the microscope stage. The red and black wires are connected to the power supply, and were unplugged first. The acrylic baseplate was unscrewed from the top of the microscope.

A wiring guide for the 32×32 LED matrix may be found here . The jumper wires were disconnected from the LED array so that the Arduino could be packaged separately.
To reassemble the microscope, the LED array must be rewired and reaffixed to the top of the microscope. The array should be reconnected to the power supply and the Arduino should be reconnected to the USB port of the controlling computer.
The C mount must be reattached to the camera, which should also be reconnected to power and the laptop.