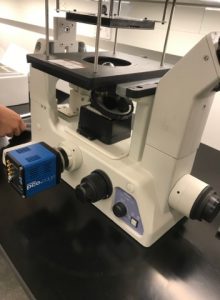
To assemble the Fourier Ptychographic mircosope (FPM), we first rewired the Arduino where it had become disconnected during storage and restored the input and power connections to the array before mounting it over the microscope objective. Fortunately, the wiring for the Arduino connected to the LED array was mostly already set up, saving a large portion of time.

The pco camera was refitted with our c mount adapter and attached to the microscope. Power and usb cables were used to connect the camera to our laptop and the outlet. The 10x, 20x, and 40x objectives were also attached into place just under the stage.
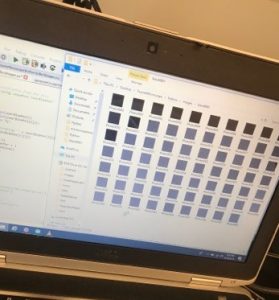
We first tested the functionality of the LED array using our LEDPlayground Arduino file, which illuminates a small section of the LED array. After successfully illuminating the array, we fully tested our imaging procedure on the reassembled microscope.
The test run was performed using a calibration slide, which consists of grids and numbers for points of reference when focusing. We chose a diameter of 9 LEDs and collected a total of 69 images of the calibration slide. The resulting image stack appeared as expected, with small variations present between images as the illumination angle shifted slightly.
The successful test run confirms that the microscope has been reassembled correctly and is ready for use collecting data sets of unstained, fixed hydra samples.