
Note: This post was intended to be published in early February 2020, but was delayed by the COVID-19 pandemic.
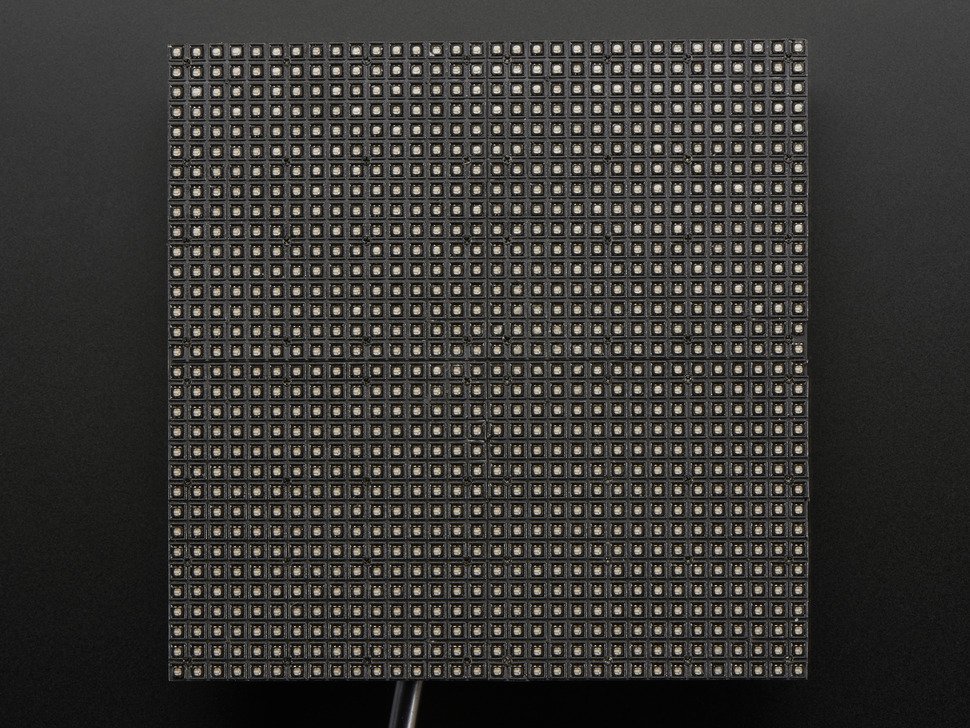
At the end of the 2019 Fall semester, I got the dome array set up and working for a short while. Unfortunately, over the winter months, the teensy Arduino managed to break on this dome as well. As such, we decided to “go back to basics” and reimplement the original 32×32 LED matrix because it didn’t have nearly as many technical hiccups.
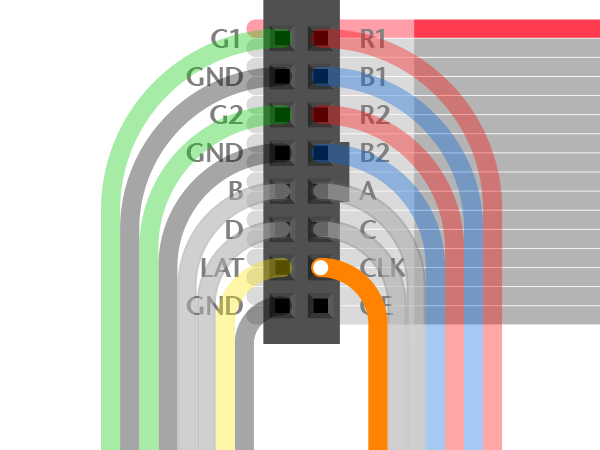
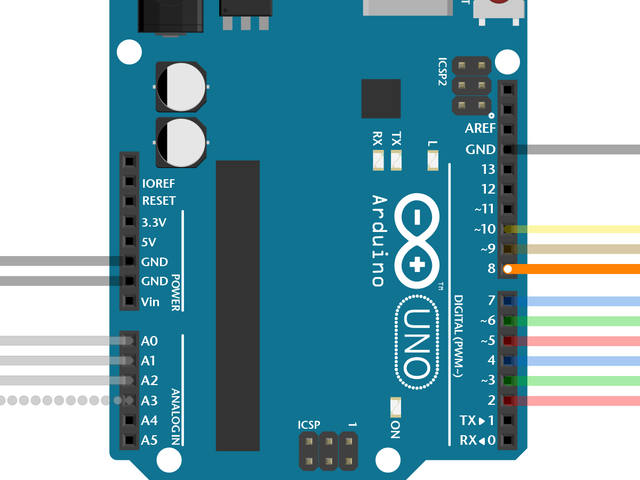
In the old setup we wired the Arduino directly to the ribbon cable that was connected to the LED array via jumper wires and a breadboard, but — as you can see below — this wiring is a quite involved process.
With a little bit of poking around, I found out that Adafruit sells an RGB Matrix Shield. In fact, they recommend using this shield to connect from an Arduino to a ribbon cable. With this shield, all you need to do is plug in the ribbon cable. Much simpler and less error-prone than working with ~35 jumper wires.
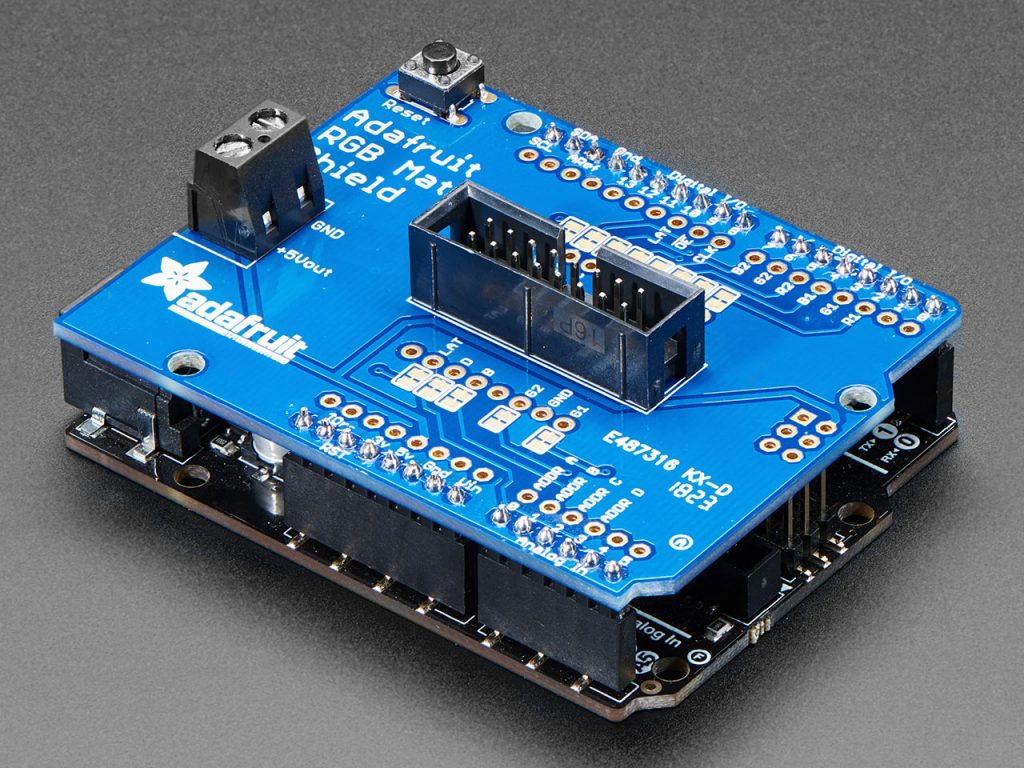
As such, the lab has decided to buy one to connect our arduino to the LED matrix. It is currently enroute as I write this post!